Homemade Jaffa cakes in 1 hour!
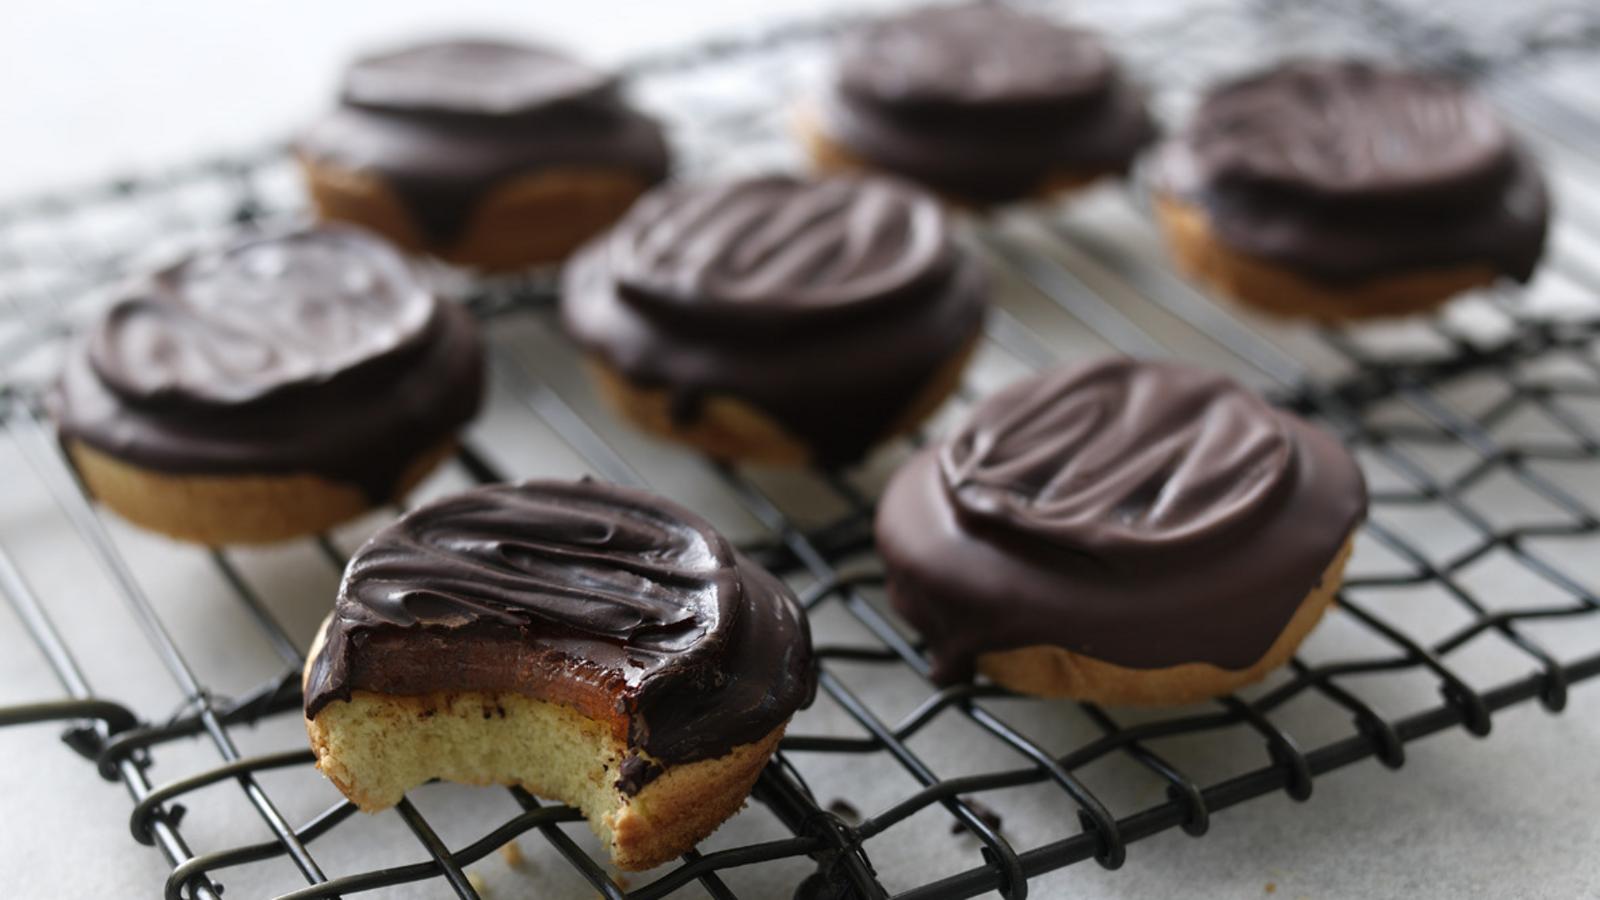
There is nothing quite as satisfying as making your own homemade Jaffa Cakes, especially when they turn out just as delicious as the shop-bought ones-if not better! These irresistible little treats combine a light, soft and fluffy sponge with a sweet, tangy orange filling and a rich layer of smooth chocolate, creating the perfect balance of flavours in every bite. Not only are they incredibly tasty, but they are also surprisingly simple to make, meaning you don’t need to be an expert baker to achieve amazing results.
With only around 30 minutes to 1 hour of preparation time and just 20 minutes of cooking, you can have a batch of freshly made Jaffa Cakes ready to enjoy in no time. This recipe makes 12 cakes, so there is plenty to share with friends and family, serve at parties, or simply keep as a delicious homemade treat for yourself. Making them from scratch also makes the experience much more enjoyable, as you get to see and taste the difference that homemade baking can make.
Whether you are looking for a fun baking project, a delicious snack, or a homemade alternative to a classic favourite, these Jaffa Cakes are definitely worth making. They are quick, easy, delicious, and guaranteed to impress anyone who tries them!
Homemade jaffa cakes- ingredient list!
Ingredients for the cakes-
Two eggs that are free-range
50g/2oz of caster sugar
50g/2oz sieved plain flour
Ingredients for the filling-
One 135g/4½oz packet of minced orange jelly
1 tablespoon orange marmalade and 125 millilitres (4½ fl oz) of boiling water
200g/7oz of fine dark chocolate, cut into pieces, with at least 70% cocoa solids
Homemade jaffa cakes- step by step instruction guide!
Step 1
Preheat the oven to 180°C (350°F/Gas Mark 4), allowing it to heat fully to the correct temperature before you begin cooking. This will ensure the oven is ready and evenly heated when you place your dish inside.
Step 2
For the cakes, begin by bringing a small amount of water to the boil in a saucepan over a medium-high heat. Once the water has reached a gentle boil, reduce the heat to low so that the water is kept at a steady simmer. Place a heatproof bowl over the saucepan to create a bain-marie, making sure that the base of the bowl does not come into contact with the simmering water, as the mixture could become too hot. Add the eggs and sugar to the heatproof bowl and whisk or beat continuously for 4-5 minutes. Continue beating until the mixture becomes pale in colour, light and fluffy, and has increased slightly in volume. The mixture should be smooth and well combined, with the sugar beginning to dissolve into the eggs.
Step 3
Gradually add the flour to the egg mixture, continuing to beat as you do so to prevent any lumps from forming. Keep mixing until all of the flour has been incorporated and the mixture forms a thick, smooth batter with an even consistency. Make sure there are no visible pockets of dry flour remaining before moving on to the next stage of the recipe.
Step 4
Carefully divide the prepared cake batter evenly between the 12 wells of a muffin tin, filling each one approximately halfway. Try to distribute the batter as evenly as possible so that the cakes bake at the same rate and are similar in size. Place the filled muffin tin into the preheated oven and bake for 8-10 minutes, or until the cakes have risen slightly and are a pale golden-brown colour. To check that they are fully cooked, insert a clean skewer into the centre of one of the cakes. The cakes are ready when the skewer comes out clean, without any wet batter sticking to it.
Step 5
Once baked, carefully remove the muffin tin from the oven and place it on a heatproof surface. Leave the cakes in the tin and allow them to cool completely before removing them. This will give the cakes time to firm up and makes them less likely to break when taken out of the tray. Meanwhile, prepare the filling. Place the jelly and marmalade into a large heatproof bowl and pour over the boiling water. Stir the mixture thoroughly until the jelly has completely dissolved and the marmalade has melted into the liquid, leaving you with a smooth, evenly combined mixture with no lumps remaining.
Step 6
Carefully pour the jelly mixture into a shallow-sided baking tray or large, flat dish. Spread it out so that the mixture forms an even layer approximately 1cm (½in) deep. Take care to keep the layer as level as possible, as this will make it easier to cut out neat discs later. Leave the jelly mixture to cool completely at room temperature. Once cooled, transfer the tray or dish to the fridge and chill until the jelly has fully set and is firm to the touch. When the jelly is completely set and the cakes have cooled, carefully remove the jelly from the tray. Using a small round cutter, cut out discs of jelly that are approximately the same diameter as the cakes. Gently lift each jelly disc from the tray, taking care not to break or tear it.
Step 7
Place one jelly disc neatly on top of each cooled cake, centring it as much as possible. Repeat until every cake has been topped with a layer of jelly. To prepare the chocolate topping, begin by bringing a small amount of water to the boil in a saucepan over a medium-high heat. Once the water is boiling, reduce the heat to low and allow the water to continue simmering gently. Place a heatproof bowl over the saucepan, making sure that the base of the bowl does not touch the simmering water. Add the chocolate to the bowl and allow it to melt slowly from the gentle heat of the steam. Stir the chocolate regularly until it has completely melted and becomes smooth, glossy and free from any lumps.
Step 8
Once the chocolate has melted, carefully remove the bowl from the heat. Pour or spoon the melted chocolate over the top of each cake, making sure the jelly layer is evenly covered. Use the back of a spoon or a small palette knife to gently spread the chocolate if necessary, creating an even layer across the surface. Leave the cakes at room temperature and allow the chocolate to cool and set completely. The topping should become firm and glossy before the cakes are served.