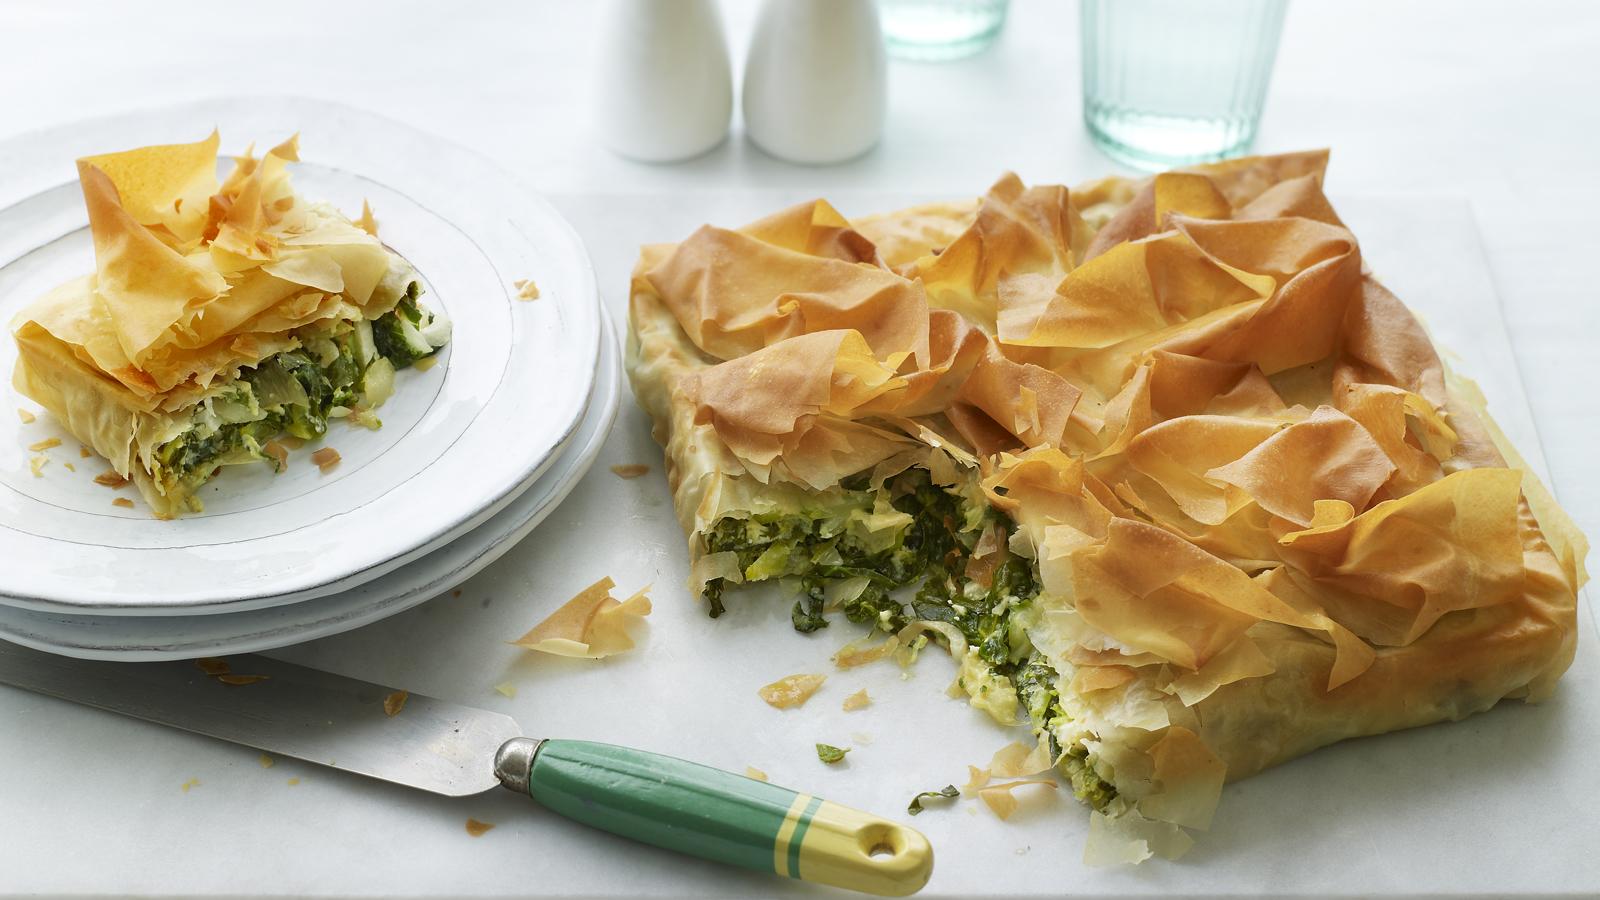
Green filo pie- delicious 1 hour meal!
This recipe is a brilliant way to use up all those odds and ends you often find lingering in the fridge — half-used salad bags, a handful of herbs, or small scraps of cheese you aren’t quite sure what to do with. Instead of letting those ingredients go to waste, this dish transforms them into something hearty, comforting, and wonderfully satisfying. Whether it’s leftover spinach, a bit of rocket, a few sprigs of parsley, or the last shavings from a block of cheddar, everything comes together beautifully in this versatile pie. You can easily supplement smaller scraps with a fresh bag of shredded kale or spinach, ensuring you always have enough greens to bulk up the filling and add both texture and flavour.
Any green filo pie- ingredient list!
Six tablespoons of olive oil
One finely sliced onion
200g/7oz of green veggies, including green pepper, celery, and leek. roughly cut (see advice below)
500g/1lb 2oz leafy greens, shredded after removing the stalks (see advice below) (Kale, spinach, chard, etc.)
200g/7oz cheese (a combination of feta, halloumi, cheddar, ricotta, cream cheese, or goats' cheese; most semi-hard cheeses will work), chopped 60g/2¼oz soft herbs (any or a combination of coriander, dill, parsley, mint, or celery leaves), shredded if needed
One unwaxed lemon, only the zest
Two beaten free-range eggs, 250g/9oz filo pastry, salt, and freshly ground black pepper
Any greens filo pie- step by step instruction guide!
Step 1
Warm 2 tablespoons of olive oil in a large frying pan set over a medium heat, allowing the oil to heat until it shimmers lightly across the surface. This ensures the vegetables will cook evenly without sticking. Once the oil is ready, add the finely chopped onion, spreading it out across the pan so it begins to soften uniformly. Fry the onion gently for 4–5 minutes, stirring occasionally, or until it becomes translucent and starts to release its natural sweetness. You should notice the edges turning slightly golden and the aroma becoming richer and more inviting.
Step 2
When the onion has reached this stage, add the green vegetables to the pan. This might include kale, spinach, cabbage, broccoli, green beans, or whatever mixture you have on hand. Stir the vegetables in well so they become coated in the warm, fragrant oil. Cook them gently for 7–10 minutes, stirring frequently to prevent sticking and to help them wilt and soften evenly. As they cook, the greens will begin to darken in colour, reduce in volume, and develop a tender texture while still retaining some pleasant bite. This slow, gentle cooking process helps build depth of flavour and ensures the vegetables transform into a soft, savoury base that will blend beautifully into the pie filling.
Step 3
Start by adding the toughest leafy greens, such as spring greens, kale, and cabbage. They will soon wilt, so you might have to add them a handful at a time to fit in the pan. Baby spinach, rocket, and salad leaves will wilt in about five minutes, but tougher greens will take approximately fifteen minutes to get tender. Put everything aside until it's cool enough to handle once it's delicate but still bright.
Step 4
To remove any liquid, squeeze the greens through a sieve. Transfer to a big bowl and stir in the cheese, lemon zest, and herbs. Add the eggs after everything has been mixed and seasoned to taste. Preheat the oven to 200°C/180°C Fan/Gas 6, giving it plenty of time to reach the correct temperature before the pie goes in. Ensuring the oven is fully preheated is important, as it allows the pastry to cook evenly from the moment it enters the heat, helping it rise properly and develop a crisp, golden exterior. Taking this step early in the process means that once your filling is ready and the pie is assembled, you can place it straight into a consistently hot oven for the best possible texture and flavour.
Step 5
Preheat the oven to 200°C/180°C Fan/Gas 6, giving it plenty of time to reach the correct temperature before the pie goes in. Ensuring the oven is fully preheated is important, as it allows the pastry to cook evenly from the moment it enters the heat, helping it rise properly and develop a crisp, golden exterior. Taking this step early in the process means that once your filling is ready and the pie is assembled, you can place it straight into a consistently hot oven for the best possible texture and flavour.
Step 6
Apply a small amount of the leftover olive oil to the bottom of a 9-inch (23-cm) square baking dish. To prevent it from drying out and becoming brittle, remove the filo pastry from the packet and place it beneath a moist tea towel. Apply a thin layer of olive oil to the entire filo, one sheet at a time. Place one sheet in the baking dish, leaving the extra filo hanging and gently pressing it into the corners. After that, place the second oiled sheet perpendicular to the first. Place a third sheet over the second in the dish. After adding the vegetables to this base, cover the top with the overhanging ends.
Step 7
Brush the remaining filo sheets with oil, crumple them loosely, and cover the pie. Bake in the preheated oven for 40 minutes, until the pastry is golden and crisp and the filling is piping hot throughout. This ensures a perfect combination of flaky pastry and a warm, flavour-packed interior.
Step 8
Place the assembled pie carefully into the preheated oven and bake for approximately 40 minutes, allowing the heat to work its magic. During this time, the pastry will gradually turn a rich, golden-brown colour and develop a satisfyingly crisp, flaky texture on the outside. Meanwhile, the filling inside will heat thoroughly, melding the flavours of the vegetables, herbs, and cheese into a warm, comforting mixture. You’ll know the pie is ready when the pastry is beautifully golden and crisp to the touch, and the filling is piping hot all the way through, steaming gently when you cut into it. Allowing the pie to bake fully ensures every bite delivers the perfect combination of crunchy pastry and soft, flavour-packed interior.
Step 9
Serve with some crusty bread and a fresh tomato salad after cutting into squares.