Delicious strawberry tart- my no.1 dessert!
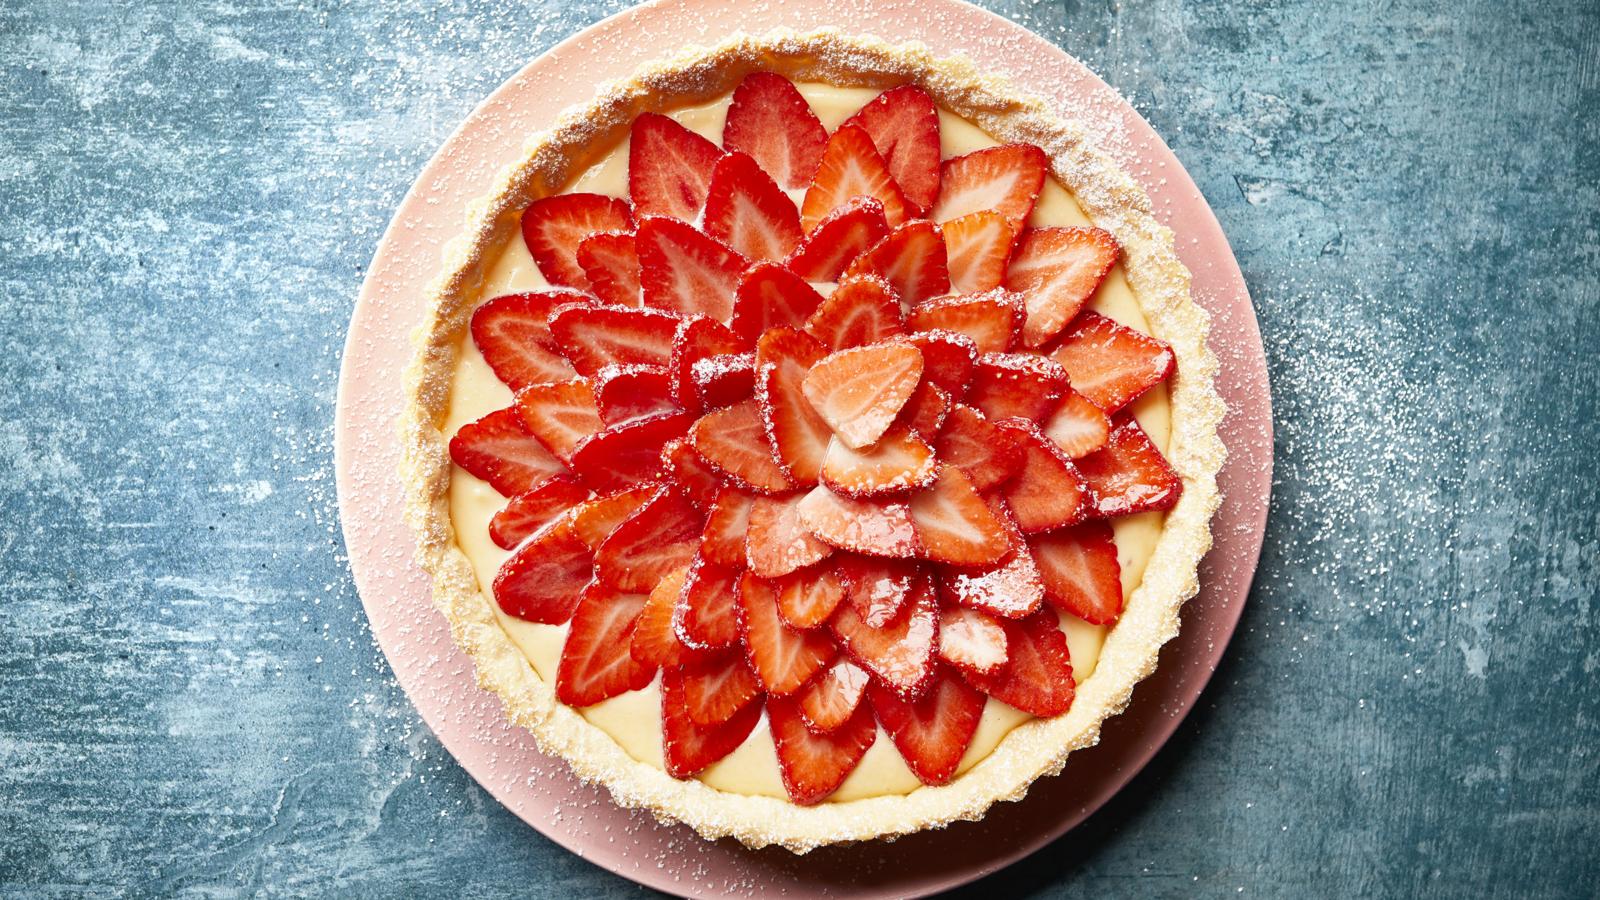
This impressive strawberry tart looks as if it’s come straight from an upmarket bakery window - glossy, elegant and guaranteed to impress anyone you serve it to. While it has a few different stages, none of them are difficult, and as long as you take your time and follow each step carefully, it’s a very achievable bake even for confident beginners.
You will need to allow a little time to bring everything together, but the process is well worth it. It takes around 1 hour to prepare, including making the pastry, blind baking the case and preparing the filling, followed by 10-20 minutes of baking time depending on your oven and the depth of your tart shell. Once baked, it simply needs time to cool before you can finish and decorate it.
The result is a crisp, buttery pastry filled with a smooth, creamy layer and topped with beautifully arranged fresh strawberries for a striking finish. It’s the kind of dessert that feels special without being complicated - perfect for celebrations, summer gatherings or any occasion where you want to bring something that looks as good as it tastes.
Delicious strawberry tart- ingredient list!
Ingredient list for the pastry-
50g/1½oz icing sugar, 100g/3½oz softened unsalted butter, and two free-range egg yolks
200g/7oz of regular flour + extra for dusting
¼ teaspoon of fine salt
Ingredient list for the cream patisere-
Full-fat milk, 300 ml/½ pint
One teaspoon of vanilla bean paste
Two free-range egg yolks and a pinch of salt
50g of granulated sugar per ounce
Two tablespoons of cornflour
Unsalted butter, 30g/1oz
Ingredients list for decoration-
500g/1lb 2oz tiny strawberries, cut in half and hulled
One tablespoon of caster sugar
Delicious strawberry tart- step by step instruction guide!
Step 1
In a food processor, blitz together the butter and icing sugar until the mixture is smooth and well combined. Add the egg yolks and blitz again until fully incorporated and silky in texture. Next, add the flour and salt, and pulse until the mixture just starts to come together into a soft dough. Be careful not to overmix - stop as soon as it begins to form. Turn the dough out, gently bring it together into a ball, then press it into a flat disc. Wrap or cover it and refrigerate for about 30 minutes to allow it to firm up, making it easier to roll out later.
Step 2
Make the crème pâtissière by gently heating the milk with the vanilla paste and a pinch of salt in a saucepan over a low heat until it is just steaming but not boiling. While the milk warms, whisk together the cornflour, sugar and egg yolks in a separate bowl until the mixture becomes thick, pale and smooth, ensuring there are no lumps. Gradually pour the warm milk into the egg mixture in a slow, steady stream, whisking constantly to temper the eggs and prevent curdling. Once fully combined, return the mixture to the saucepan and place it back over a low heat. Cook gently, stirring continuously with a whisk or wooden spoon, making sure to scrape the bottom of the pan so it doesn’t catch, until the custard thickens to a smooth, rich consistency. Remove from the heat and immediately whisk in the butter, allowing it to melt and blend in fully, giving the crème pâtissière a glossy, silky finish. Pour the custard into a bowl and press cling film directly onto the surface to prevent a skin forming. Leave to cool for about 10 minutes, then transfer to the fridge to chill completely until needed.
Step 3
Transfer the chilled dough to a lightly floured work surface and dust the top with a little more flour. Roll it out into a circle roughly 30cm (12in) in diameter, turning it occasionally to prevent sticking and to keep the thickness even. Carefully lift the pastry and drape it over a 23cm (9in) loose-bottomed fluted tart tin. Gently press it into the base and up the sides, making sure it fits snugly into the corners without stretching. Trim away any excess, leaving a slight overhang at the edge to allow for shrinkage during baking. Use a fork to lightly prick the base all over-this helps prevent it from puffing up in the oven. Place the lined tin back in the fridge for about 30 minutes to chill and firm up. While the pastry chills, set the oven to 200°C (180°C Fan) or Gas Mark 6 so it’s fully preheated and ready for baking.
Step 4
Take the tart tin out of the refrigerator and set it on a baking tray. To line the pastry, take a large sheet of baking paper, crumple it into a ball, then uncrumple it. To support the edges while the dough bakes, fill with baking beans.
Bake blind for 10 to 12 minutes, or until the edges are beginning to turn brown. After removing the baking parchment and beans, bake for a further 7 to 10 minutes, or until the beans are crisp and golden all over. Let it cool.
Step 5
Sprinkle the strawberries with the caster sugar and set them aside for about 5 minutes. This short resting time allows the fruit to soften slightly and release some of its natural juices, enhancing both flavour and shine. Meanwhile, take the crème pâtissière out of the fridge and give it a brief stir until smooth and loosened. Spoon it into the cooled pastry case and spread it out evenly, making sure it reaches right to the edges for a neat, level base. Arrange the strawberries on top in neat concentric circles, starting from the outside and working your way in. Take your time with this step, as the careful layering creates that classic, eye-catching finish that makes the tart look so impressive.
Step 6
Once decorated, the tart is ready to slice and serve. For the neatest results, use a sharp knife and wipe it clean between each cut to keep the layers looking tidy. Serve slightly chilled or at room temperature to allow the flavours to shine and the filling to stay perfectly set. Each slice should hold its shape beautifully, with crisp pastry, smooth filling and juicy strawberries in every bite.