Caesar pasta salad- 4 meal prep recipe!
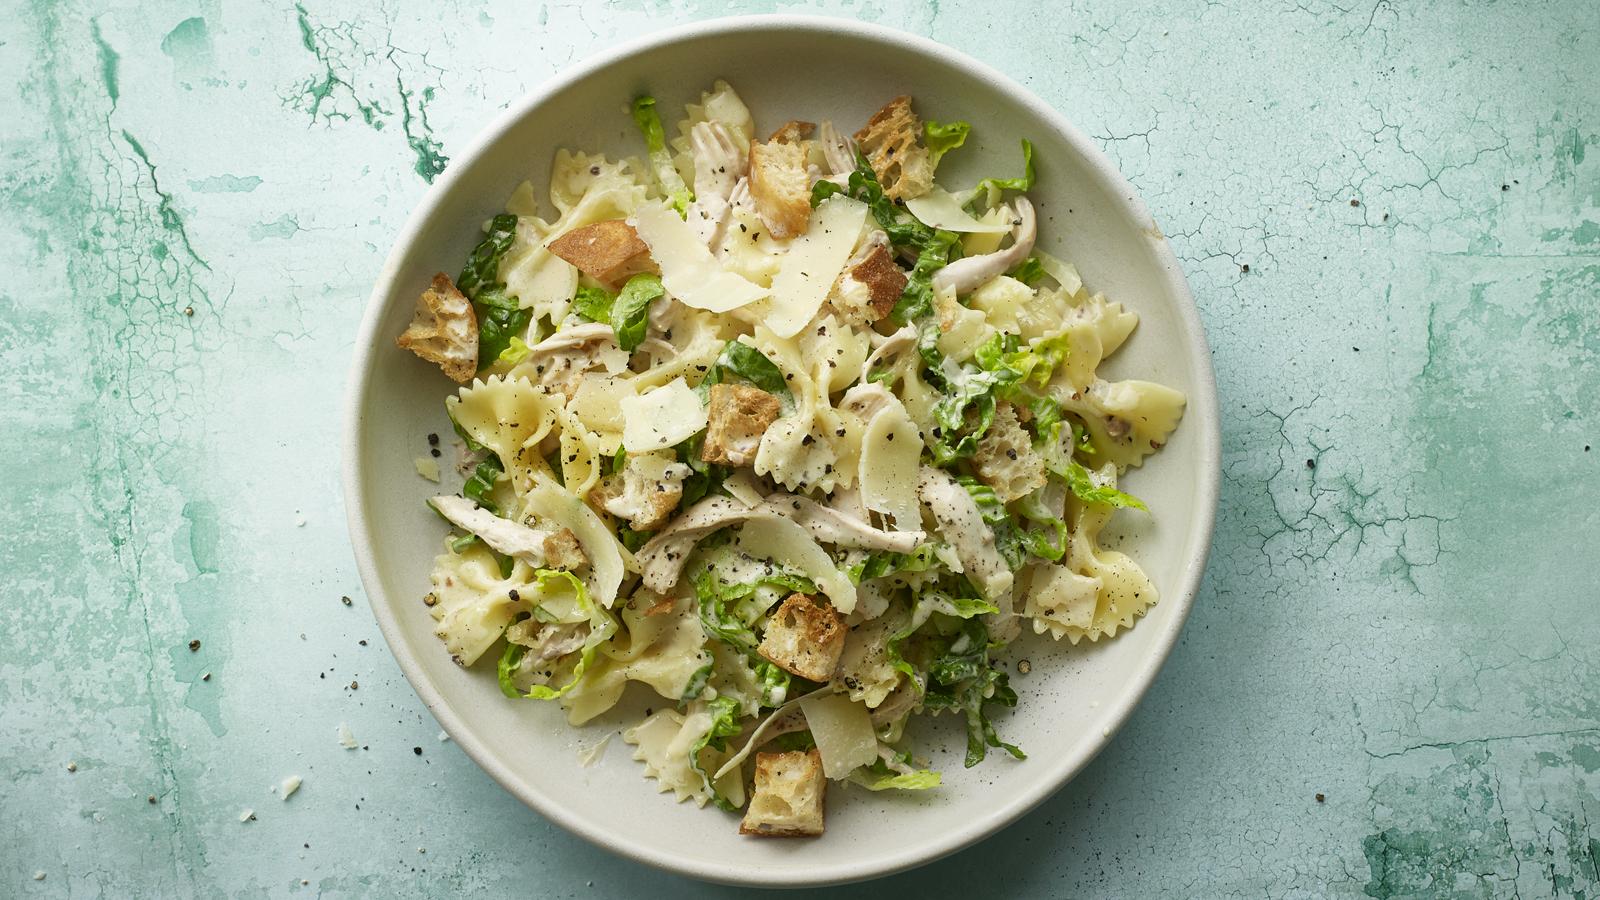
The ever-popular chicken Caesar salad is given a more substantial, satisfying twist by adding pasta, turning a classic light salad into a hearty, complete meal that still feels fresh, crisp and balanced. You still get everything that makes a Caesar salad so well loved - tender chicken, crunchy croûtons, crisp lettuce and a creamy, tangy dressing that coats every bite - but the addition of pasta transforms it into something more filling and satisfying, without losing the familiar flavours you expect.
It’s a brilliant option for busy days because it comes together quickly and easily, taking less than 30 minutes to prepare from start to finish. In a short amount of time, you can go from simple ingredients to a full, restaurant-style meal that feels fresh, satisfying and well balanced without requiring much effort in the kitchen. That makes it especially useful when time is limited but you still want something properly nourishing rather than a rushed or uninspiring meal.
This speed and simplicity means it works in a wide range of situations - whether you’re making a quick lunch in the middle of a hectic day, putting together an easy weeknight dinner, or just looking for something reliable that doesn’t require much planning or prep. It’s the kind of recipe you can turn to again and again because it delivers consistent results without any fuss, while still feeling like something you’d happily order out.
It’s also an excellent choice for meal prep, as it holds up well once made and remains delicious when stored in the fridge, making it ideal for planning ahead. The recipe creates 4 servings, which makes it perfectly suited for either 4 work lunches across the week or a simple, no-fuss family dinner that everyone can enjoy together. Each portion is balanced, filling and packed with flavour, offering a dependable go-to meal that works just as well fresh as it does the next day, without losing its texture or appeal.
Ceasar pasta salad- ingredient list!
Four skinless and boneless chicken thighs;
500ml/18fl oz hot chicken stock; 320g/11oz farfalle;
and two handfuls of plain croissant
One small handful of finely shredded gem lettuce,
sea salt, freshly ground black pepper,
and Parmesan shavings
Ingredient list for the ceasar dressing-
Four drained anchovy fillets in oil
Three tablespoons of light mayonnaise
Two tablespoons of extra virgin olive oil
Two teaspoons of red wine vinegar
¼ lemon, only the juice
Ceasar pasta salad- step by step instruction guide!
Step 1
Place the chicken into a saucepan and pour over the hot stock, ensuring the chicken is fully submerged. Set the pan over a high heat and bring the liquid up to the boil. Once boiling, reduce the heat to low so the stock is at a gentle simmer and cook for 10-15 minutes, or until the chicken is just cooked through and tender. Keep an eye on the heat to maintain a steady simmer rather than a rapid boil, as this will help keep the chicken juicy. When cooked, use a slotted spoon to carefully remove the chicken from the pan and transfer it to a plate or board. Set aside and leave to cool slightly before shredding or slicing as required.
Step 2
Add the pasta bows to the pan along with a generous pinch of sea salt and stir briefly to prevent sticking. Make sure the pasta is fully covered with water, topping up with boiling water if needed so it cooks evenly. Bring the water back to a boil and cook the pasta according to the packet instructions, stirring occasionally to ensure it cooks through and doesn’t clump together. Once the pasta is tender, drain it thoroughly in a colander and rinse under the cold tap to stop the cooking process and cool it down quickly. Shake off any excess water, then leave the pasta to drain completely before using or assembling the salad.
Step 3
To make the Caesar dressing, add all of the ingredients except the lemon juice into a mini chopper or food processor. Season generously with salt and freshly ground black pepper, then blend until the mixture is completely smooth and well combined, scraping down the sides if needed to ensure everything is evenly incorporated. Once blended, taste the dressing and gradually add the lemon juice, blending again or stirring well after each addition, until it reaches your preferred level of brightness and acidity. Adjust the seasoning if necessary, then set the dressing aside until ready to assemble the salad.
Step 4
Roughly chop or shred the cooked chicken into bite-sized pieces and add it to the cooled pasta. Pour in the Caesar dressing, then add the croûtons, shredded lettuce and most of the Parmesan. Gently toss everything together until the pasta, chicken and salad ingredients are evenly combined and well coated in the dressing, making sure the croûtons and lettuce are evenly distributed throughout. Taste and adjust the seasoning, adding plenty of freshly ground black pepper as needed, and mixing again to combine. Once everything is well incorporated, it’s ready to serve.
Step 5
Divide the pasta salad evenly between four bowls, taking care to ensure each portion includes a balanced mix of pasta, chicken, lettuce, croûtons and dressing so every serving has a bit of everything. Spoon the salad in gently and loosely rather than pressing it down, as this helps maintain the light, varied texture and prevents the croûtons from becoming too compressed. If needed, give the mixture a final gentle toss before portioning to redistribute any dressing that may have settled. Once all portions are plated, finish each bowl with a generous scattering of the reserved Parmesan shavings, making sure they are evenly distributed across the top of each serving. This adds a final layer of flavour and richness while also giving a simple, polished finish to the dish. Serve immediately while the textures are at their best.
To meal prep-
Cook the chicken and pasta, then cool completely before mixing with the Caesar dressing. Store this base in an airtight container in the fridge for up to 3-4 days. Keep lettuce, croûtons and Parmesan separate to maintain freshness. Assemble just before eating to keep everything crisp and prevent sogginess.